I’m Saraemi (@saraemiii_EN), an illustrator specializing in VTuber-related work.
The tracking software VTube Studio is one of the most popular tools used by many VTubers.
With its collaboration feature, you can easily host collabs with up to four participants.
However, there are a few things you’ll need to prepare in advance to make the most of this convenient feature.
In this article, I’ll walk you through the steps for setting up a smooth collaboration, using actual screenshots for reference.
I often forget the setup process whenever I host a collab, so I decided to put together this post as a quick reference for myself and hopefully, it helps you too.
If it’s difficult to read, please also check the official VTS explanation.
🔰For details on how to install VTube Studio, please check this guide!

Things to Prepare Before Collaborating in “VTube Studio”
To use the collaboration feature in VTube Studio, you’ll need to add your collab partners as friends on Steam and purchase the dedicated DLC in advance.
Step 1: Add Your Collab Partner as a Friend on Steam
1 : Open the “Friends” page on Steam.
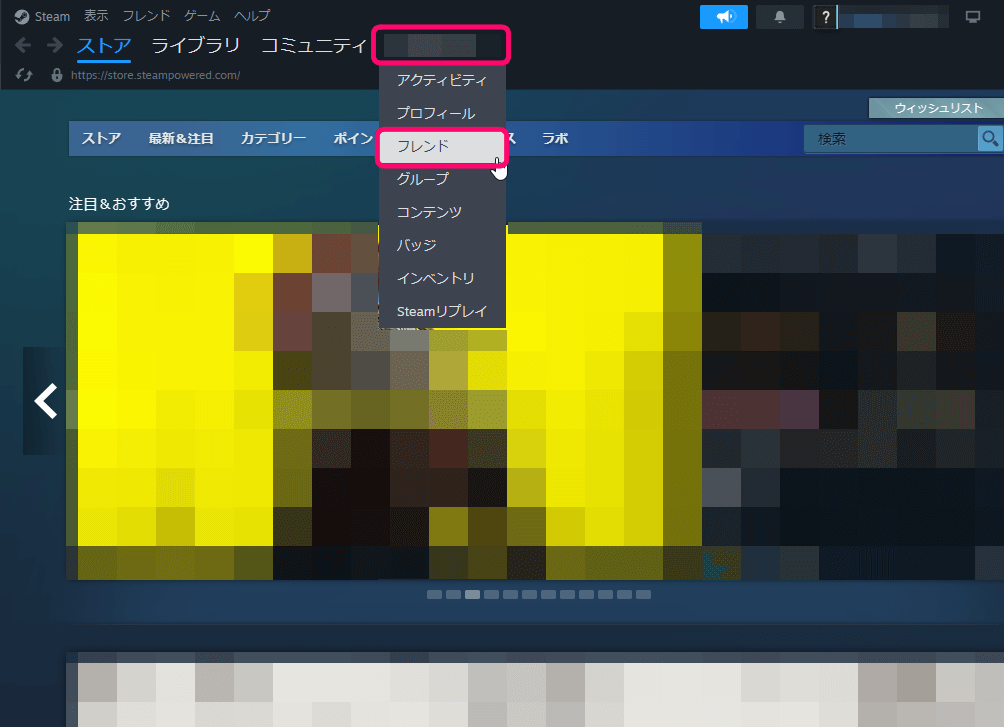
Log in to your Steam account, hover your cursor over your username in the top menu, and select “Friends” from the dropdown list.
2 : Click “Add a Friend.”
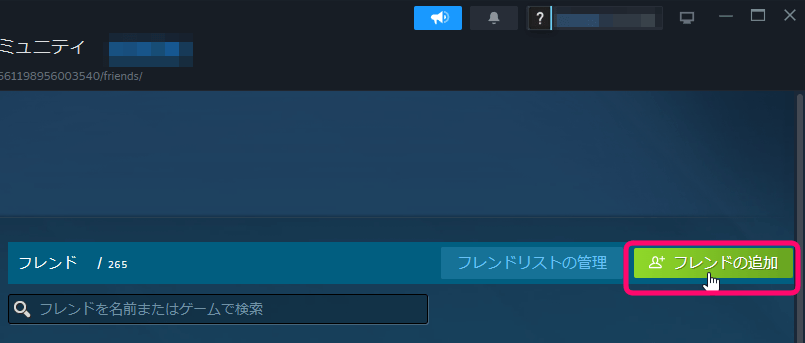
You’ll see your friend list and related options. From there, click “Add a Friend.”
3 : Add your collab partner using a friend code or quick invite link.
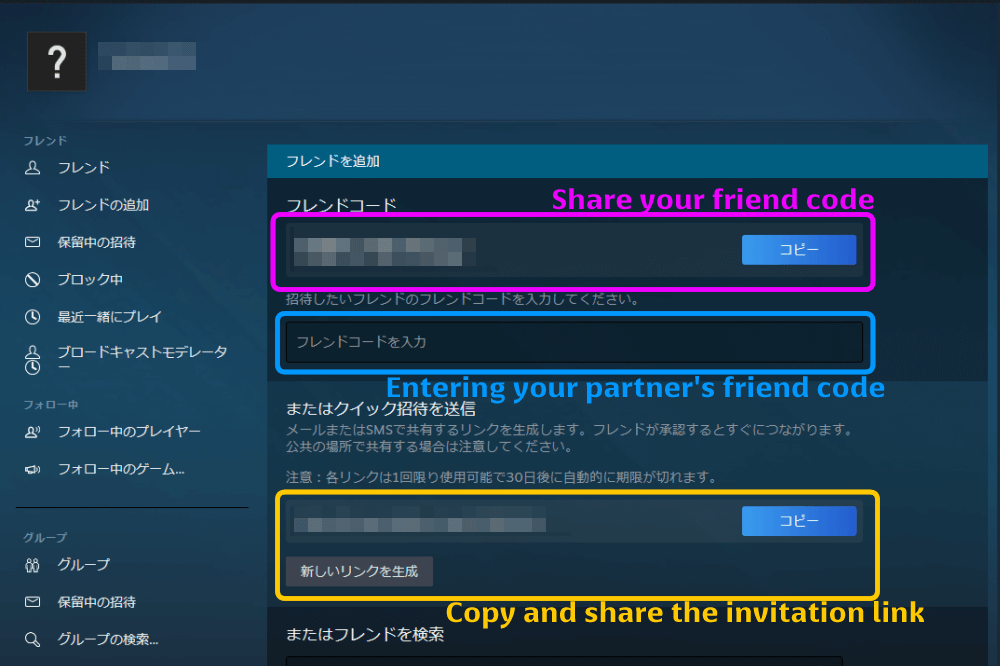
You’ll be taken to a page showing several ways to add friends.
You can choose one of the following methods
- Share your friend code with your partner → When you receive a notification, click “Accept.”
- Enter your partner’s friend code in the input field → When their name appears, click “Send Invite.”
- Copy and share the Quick Invite link → When the notification appears, click “Add as Friend.”
You can also search for friends directly, but sometimes the other person’s privacy settings prevent their name from appearing in search results.
Using a friend code or invite link is the most reliable option.
Step 2: Purchase the Collaboration DLC
Please note that both you and your collab partner must purchase and own the DLC to use the feature together.
1 : Go to the VTube Studio page on Steam and open the “DLC” section.
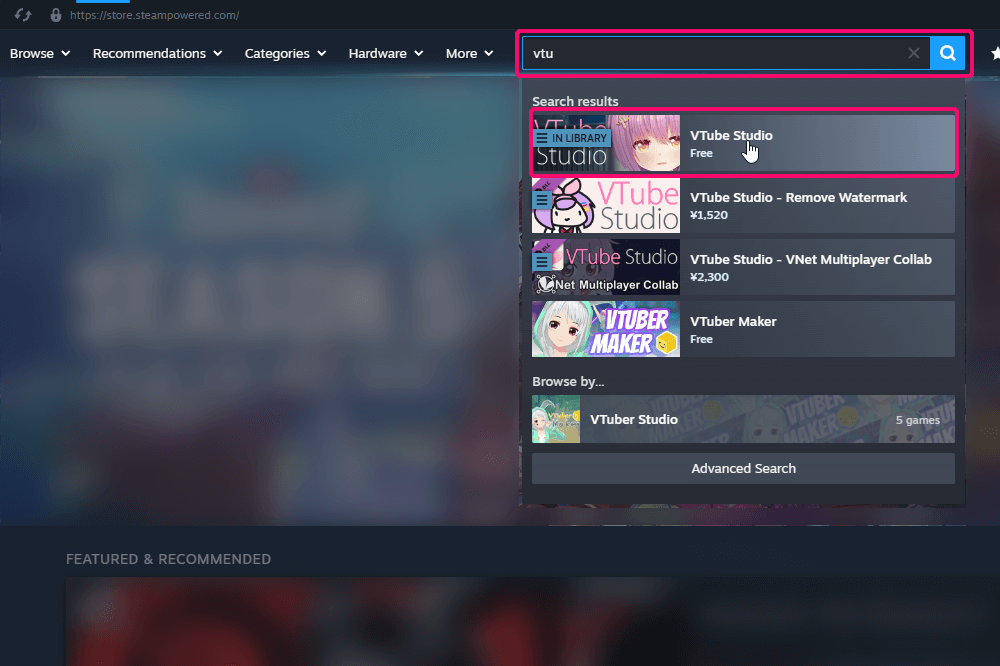
Click “DLC” on the Steam VTube Studio page.
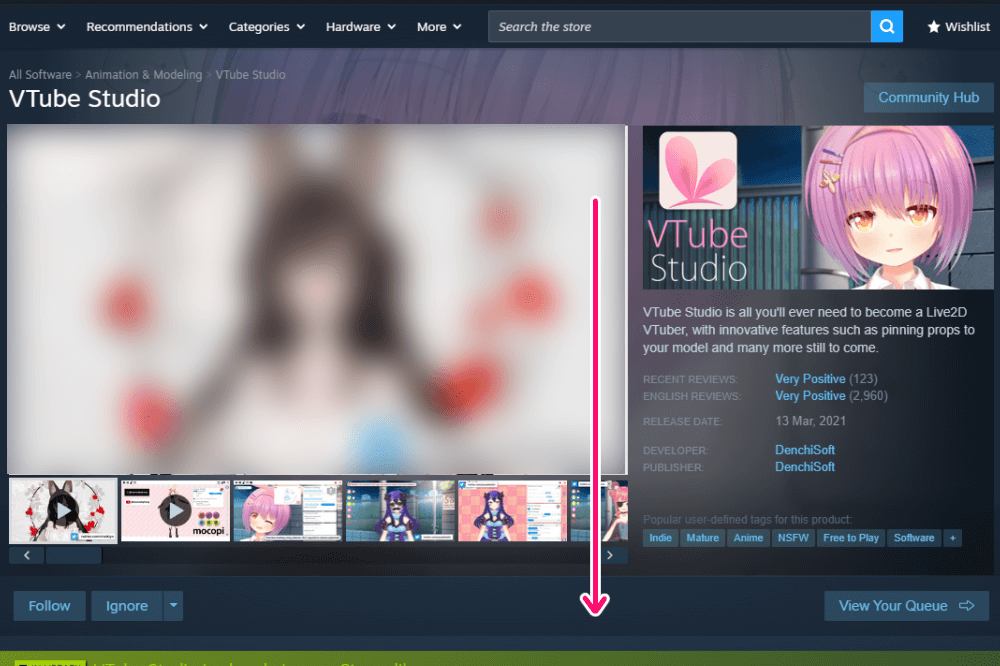
Once you’re on the DLC page, scroll down to find the available options.
2 : Select “V NET MULTIPLAYER COLLAB” to open the purchase screen.
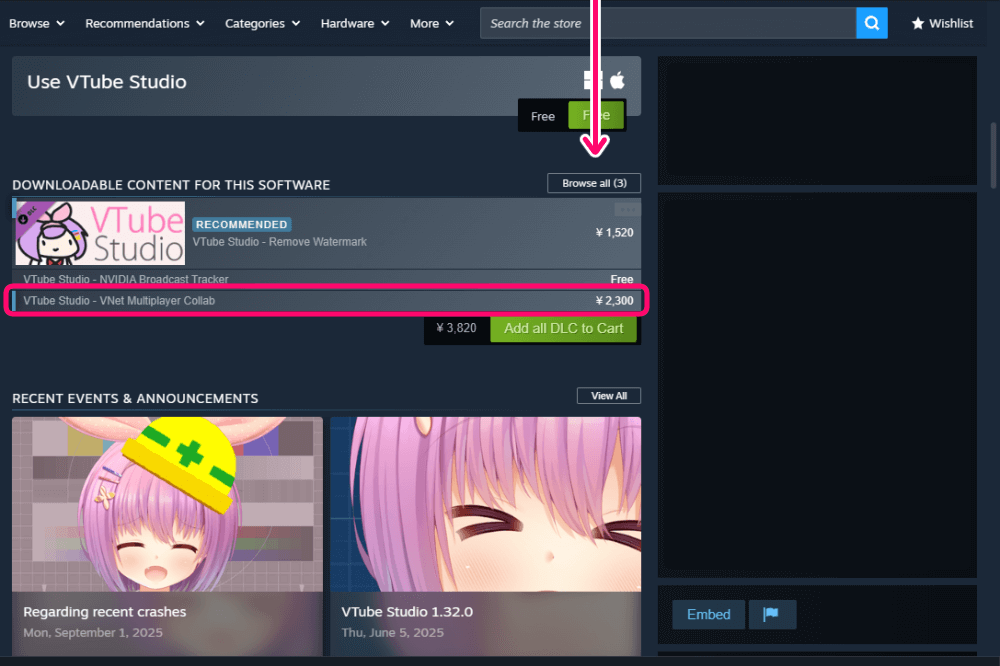
When the purchase menu appears, choose “V NET MULTIPLAYER COLLAB” and proceed with the checkout process.
How the Host Sets Up a Collaboration
To start a collab, one person must act as the host while others join as participants.
Host Step 1 : Open “Collaboration Settings” from the Menu
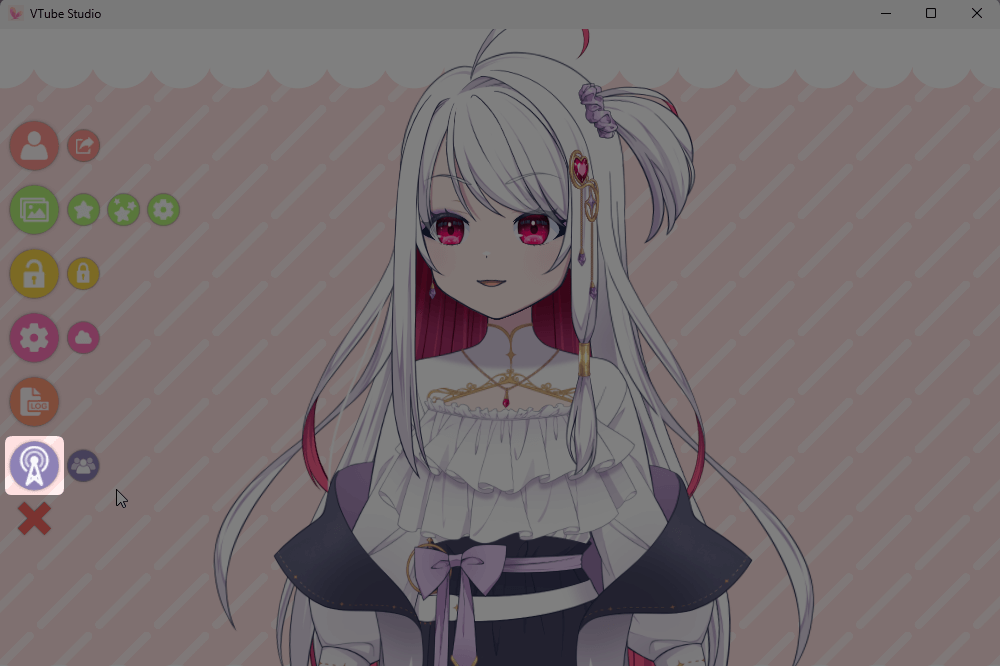
At the bottom of the menu, click “Collaboration Settings.”
Host Step 2 : Switch to “Host” Mode
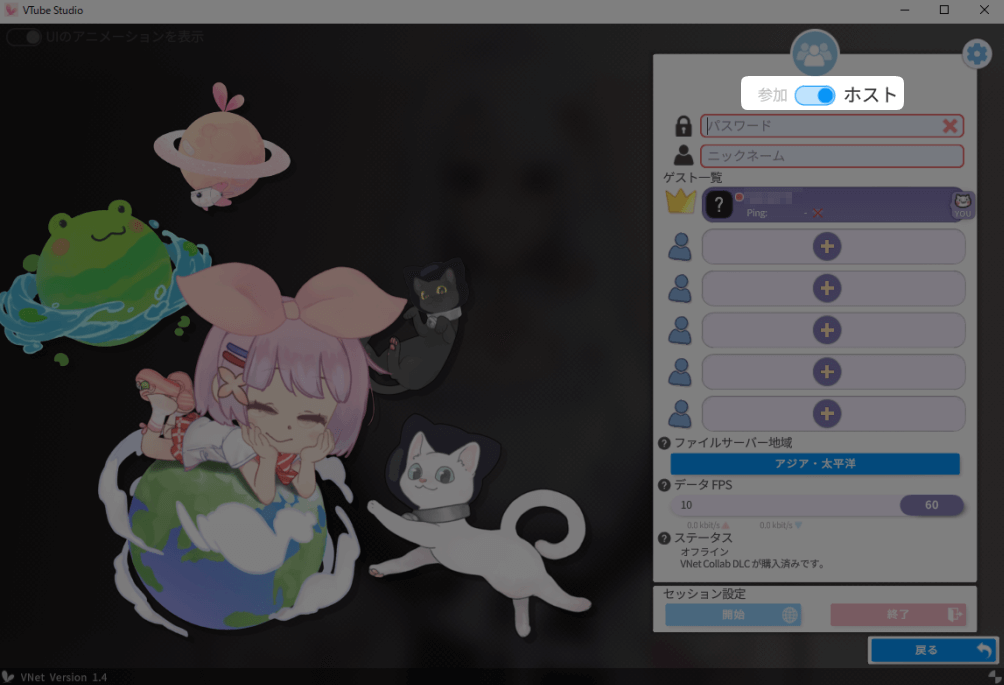
When the collaboration settings window appears, toggle the mode to “Host.”
Host Step 3 : Enter a Password and Nickname
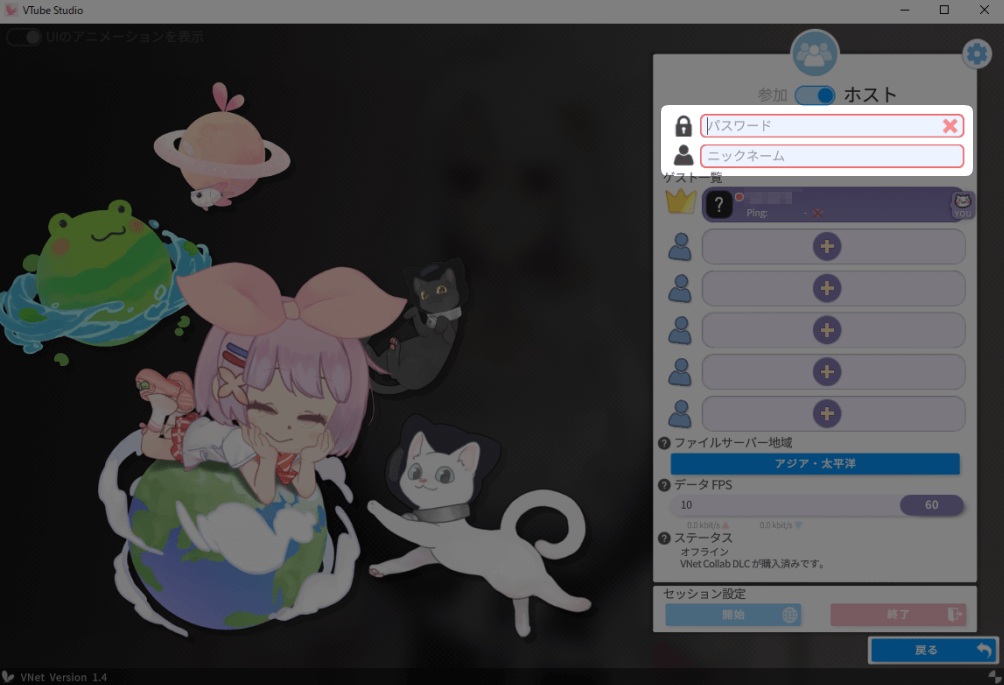
Set a temporary password for this session.
Enter a nickname that you’re comfortable sharing publicly.
Host Step 4 : Share the Password with Participants
Share the password you set with your collab partners.
They’ll need this password to connect to your session.
Host Step 5 : Select Participants Using the “+” Button
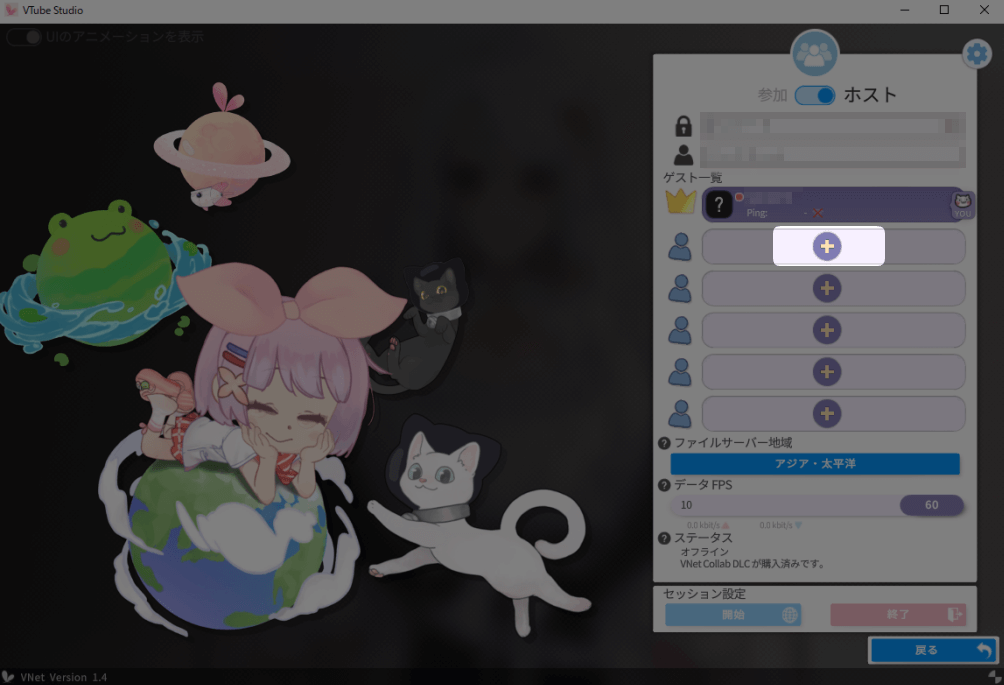
Click the “+” button to open your friends list.

From there, select the person (or people) you’ll be collaborating with.
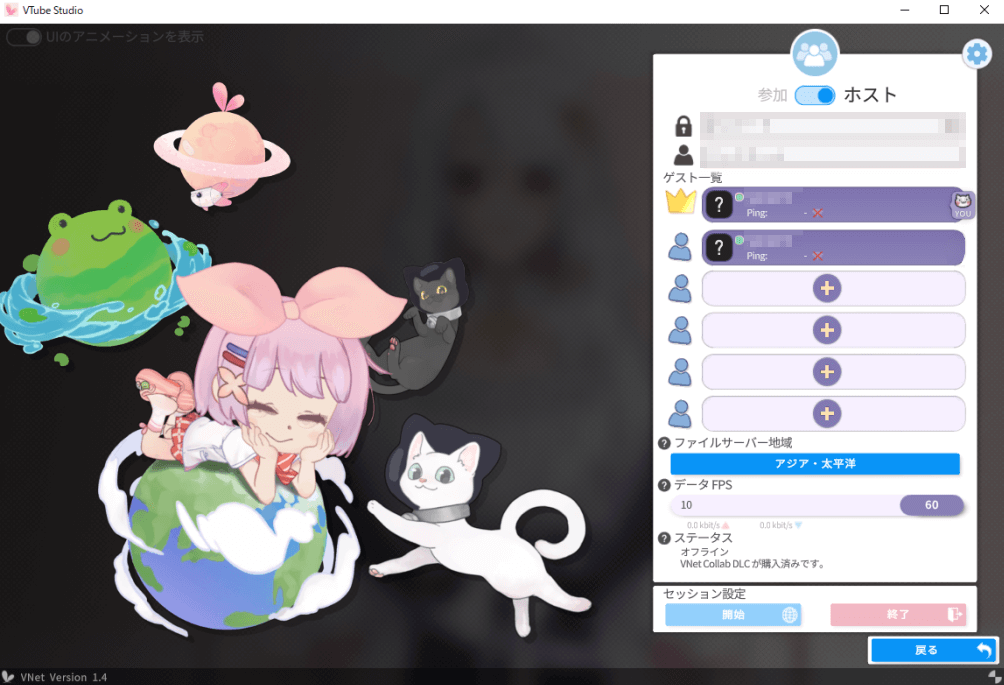
Once selected, a notification will be sent to the participant’s side.
After they accept the invitation, the connection will be successfully established.
How Participants Join a Collaboration
Participant Step 1 : Open the Collaboration Settings Screen

Click “Collaboration Settings” or “Collaboration Participants” from the menu to open the settings window.
Participant Step 2 : Switch to “Join” Mode
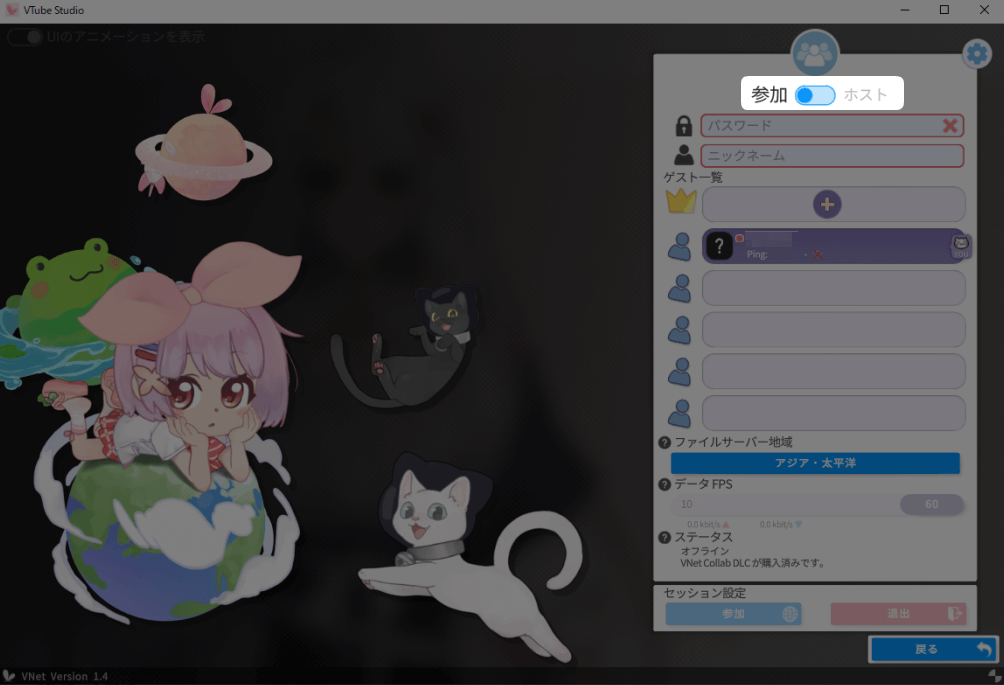
In the collaboration settings window, toggle the mode to “Join.”
Participant Step 3 : Enter the Password from the Host
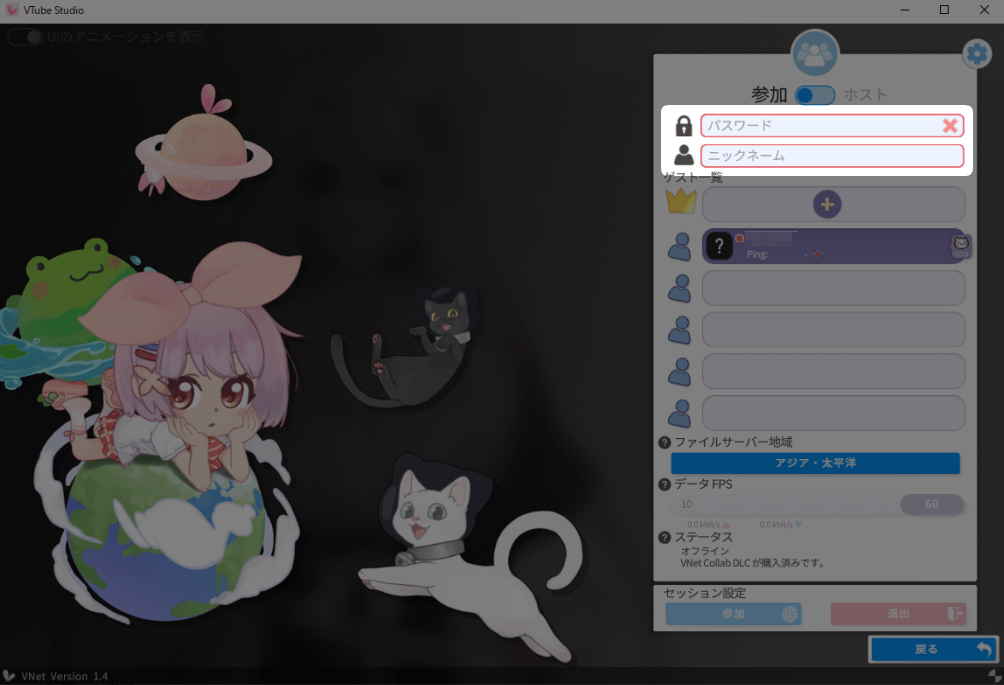
Enter the password that the host shared with you.
Then, type in a nickname you’re comfortable displaying publicly.
Participant Step 4 : Select the Host Using the 👑 “+” Button
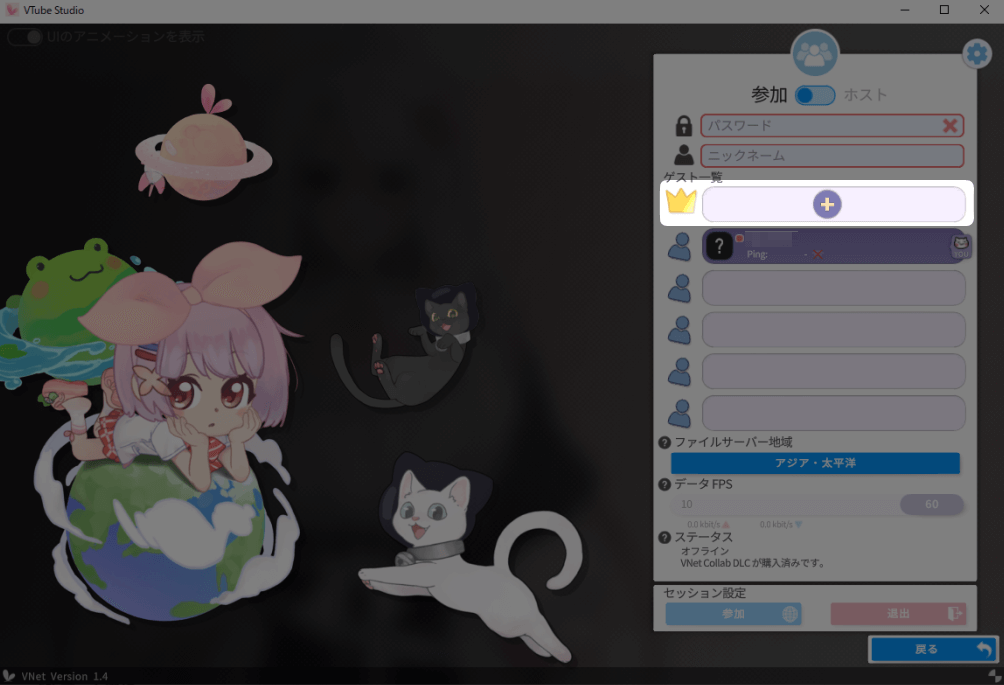
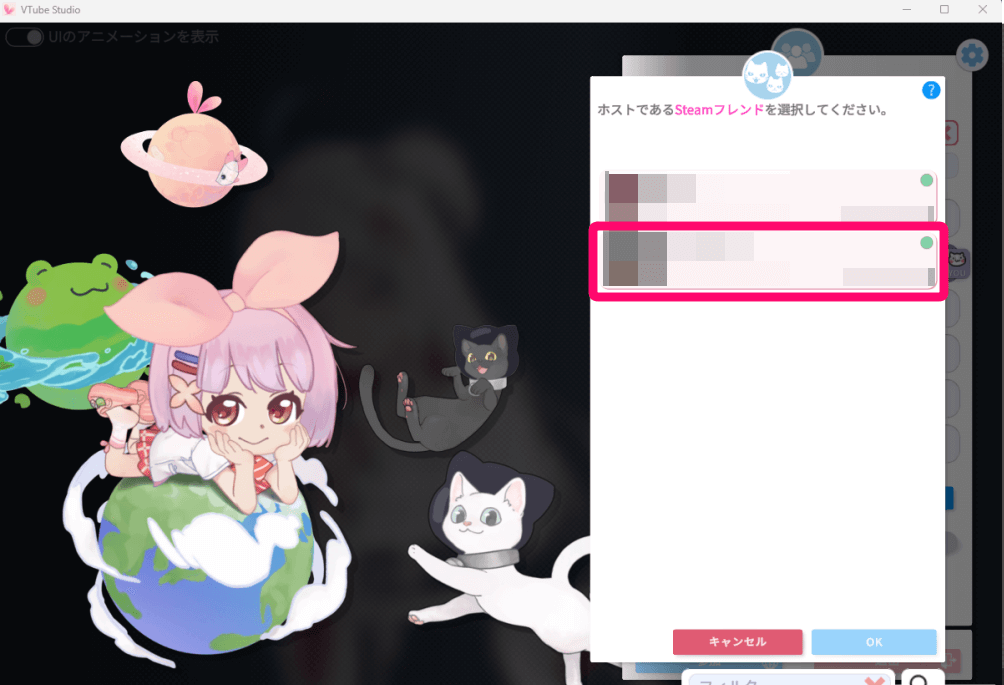
Click the “+” button next to the crown icon (👑) and select your host from the list.
Wait until the host selects you on their side.
Participant Step 5 : Approve the Connection
When the host selects you, a confirmation notice will appear.
Click “Allow” to accept the invitation.
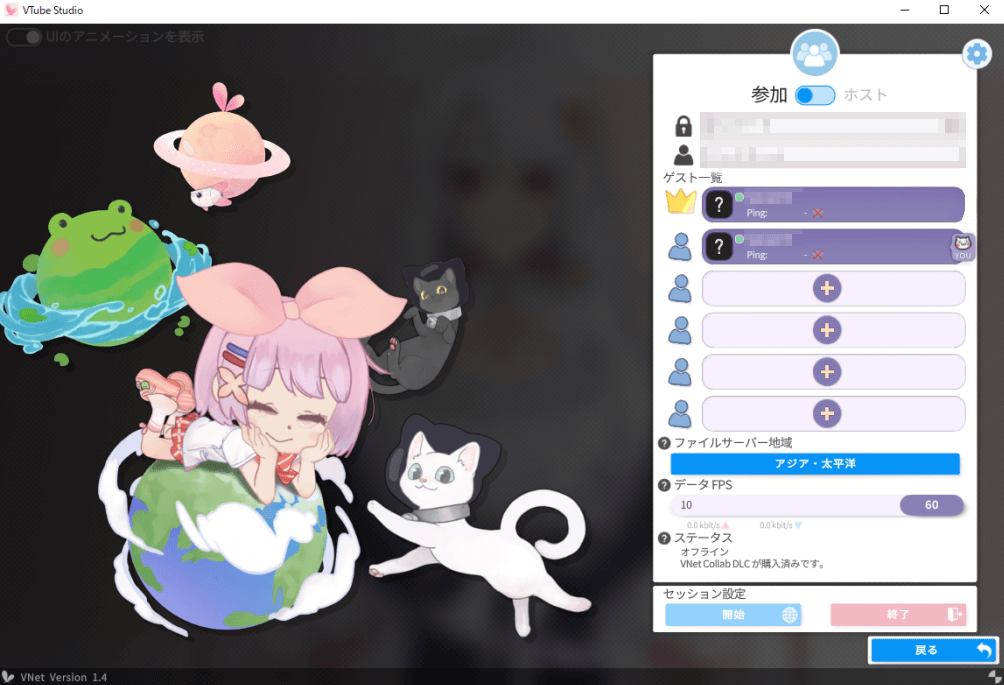
That’s it your connection is complete!
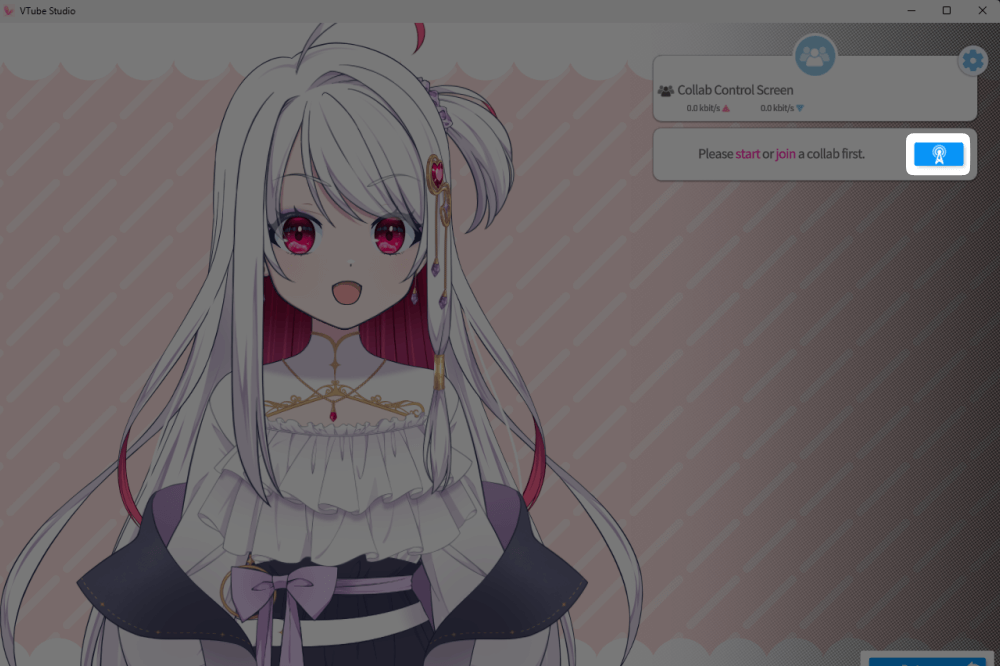
Once the connection is complete, your partner will appear in your VTube Studio window!

If both of your VTuber models are visible on each other’s screens, the setup was successful.
Create Content That Brings Out a New Side of You!
With VTube Studio’s collaboration feature, you can make your streams and creative projects more fun and engaging than ever.
Collaborative streams are a great way to introduce your audience to new creators—and to show a different side of yourself as well.
I hope this guide helps you make your VTuber activities even more enjoyable and fulfilling!